Stage 2: Metadata Profiling
The understand a dataset’s metadata the WhiteRabbit statistical profiling tool from OHDSI is used. This tool has been vetted by UoN Information Security and Compliance team and passed the UoN DPIA process.
A full User Guide and Introduction to WhiteRabbit is here:
Profile Data
1. Setup WhiteRabbit
- Open the WhiteRabbit tool.
Metadata extraction for csv files:
- Locations screen:
- Enter ‘Working Folder’ location (see image below).
- Click ‘Test Connection’ to ensure that it is working.
- Then go to the ‘Scan’ tab Screen.
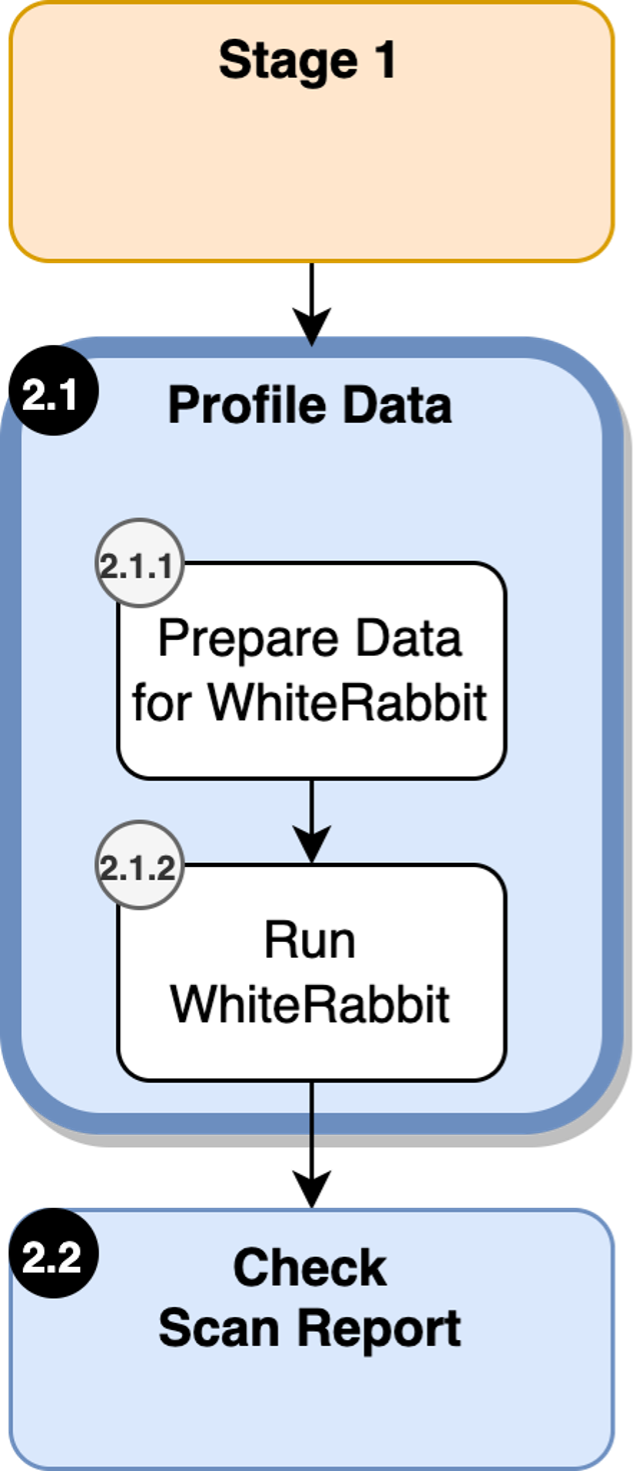
Figure 10: Profiling Data in Metadata Profiling.
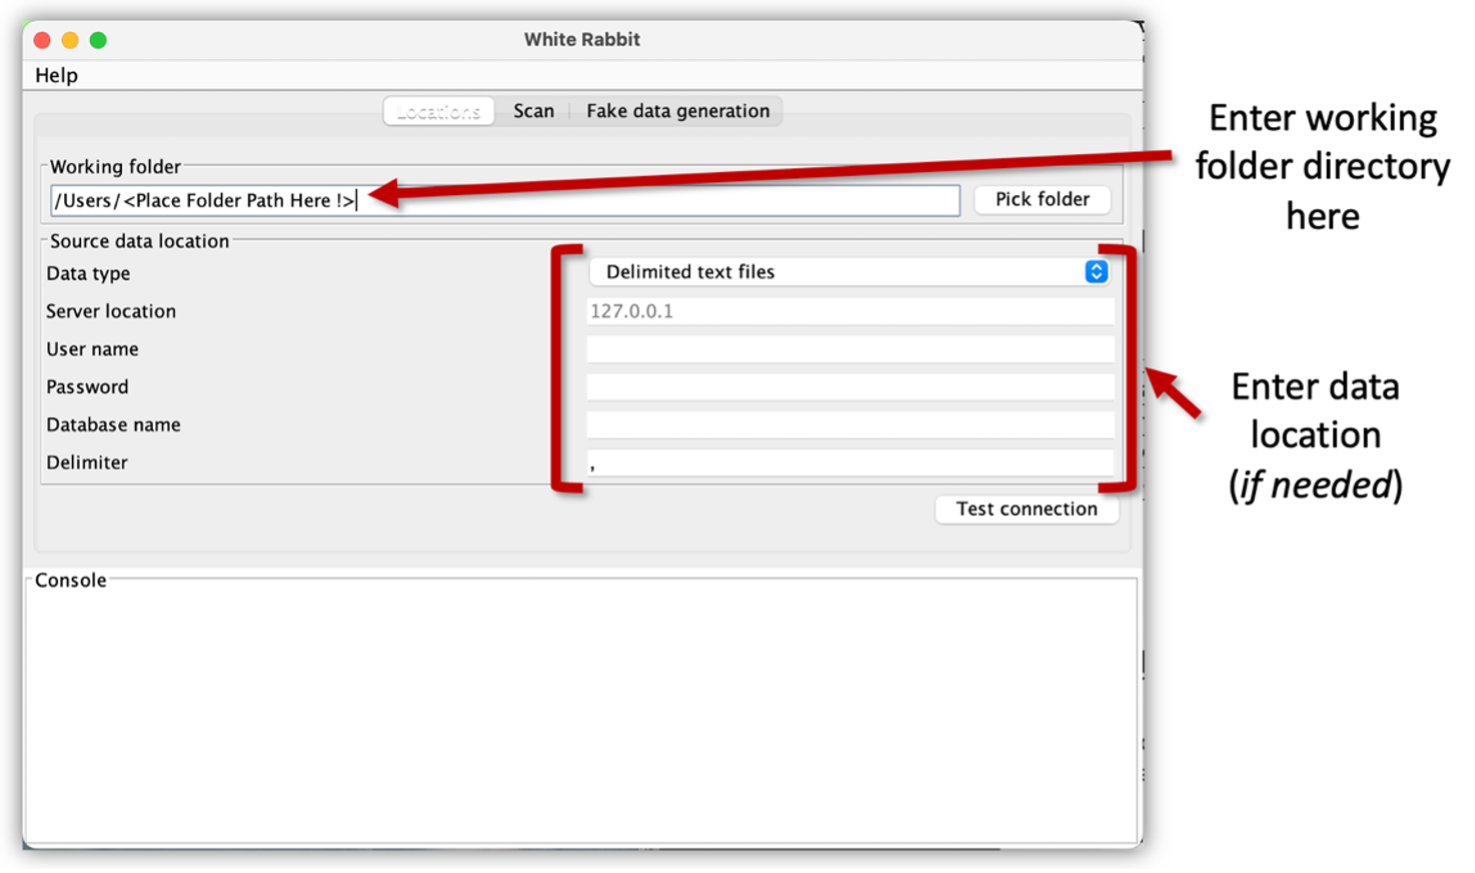
Figure 11: Example of WhiteRabbit ‘Location’ Screen Option
1.1 Setup WhiteRabbit (Second Part)
-
Scan Screen:
- Click on the ‘Scan’ tab.
- Click ‘Add’, to add the required dataset .csv files.
- The ‘Min Cell Count’ is set to 5 by default, this can be altered according to the data owner’s requirements.
- Press ‘Scan Tables’ to run WhiteRabbit.
- This will produce a ‘Scan Report’ for the dataset metadata within the Working Directory.
-
For Databases
- Please refer to the WhiteRabbit User Guide, for setting up the tool to scan a database.
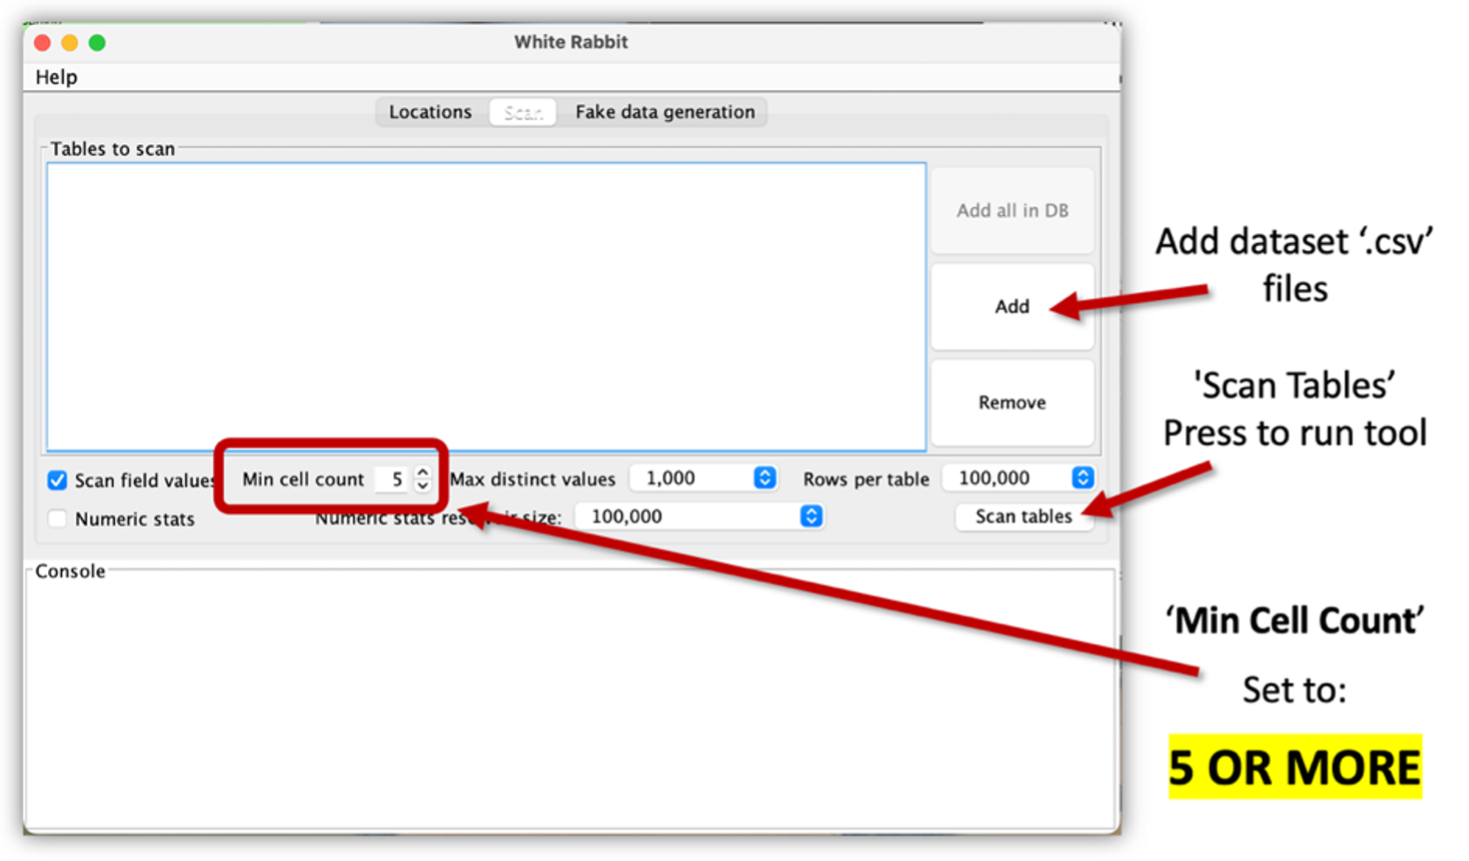
Figure 12: Example of WhiteRabbit’s ‘Scan’ Screen Option
Checking Scan Report
Examine Scan Report
- Open the WhiteRabbit Scan Report Excel file from the Working Directory.
- Check:
- A sheet has been created for each
.csvfile added to WhiteRabbit. - Check the name of each sheet tab and ensure it is the same as the
.csvfile name it represents. - Check Field Overview sheet results are correct.
- A sheet has been created for each
Check Anonymisation
- Check all Direct Identifier data values are not present within the Scan Report.
- Check all Indirect Identifier data values are not present within the Scan Report.
See Personally Identifiable Information for Direct and Indirect Identifier information.
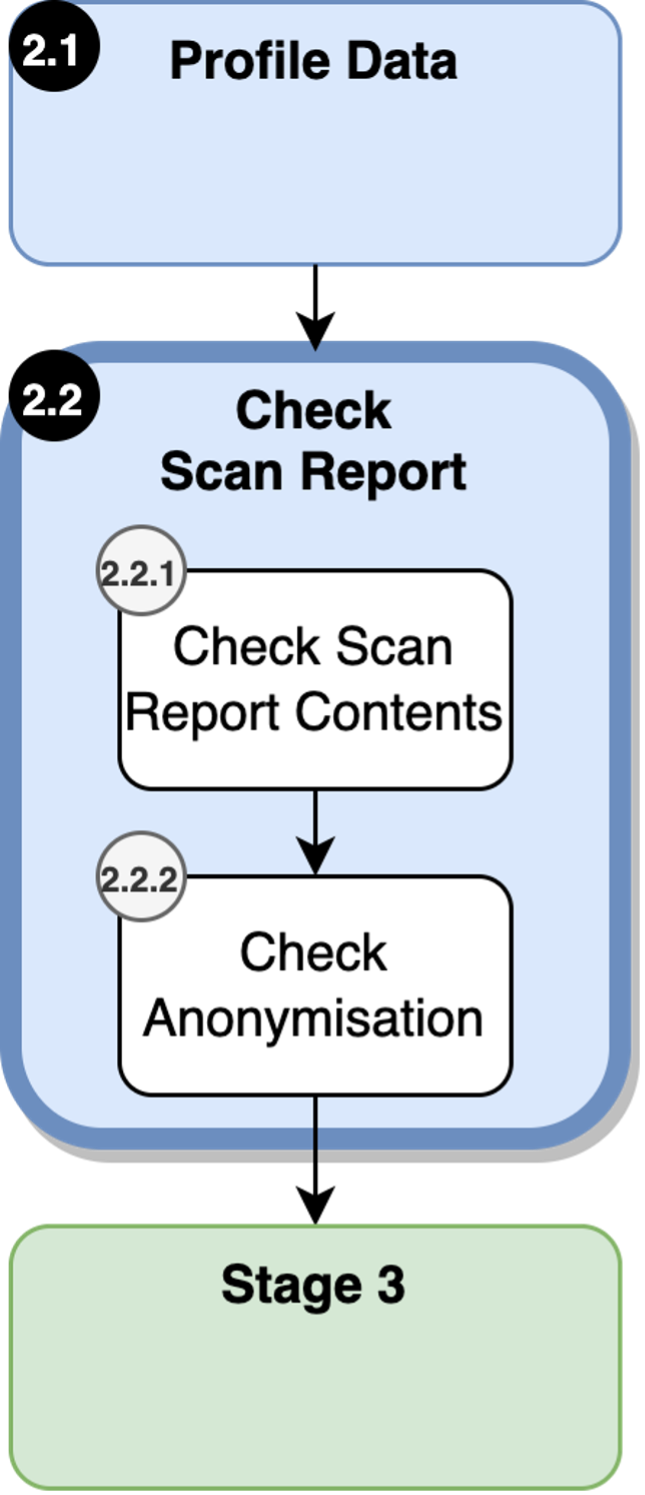
Figure 13: Checking Scan Report in Metadata Profiling.
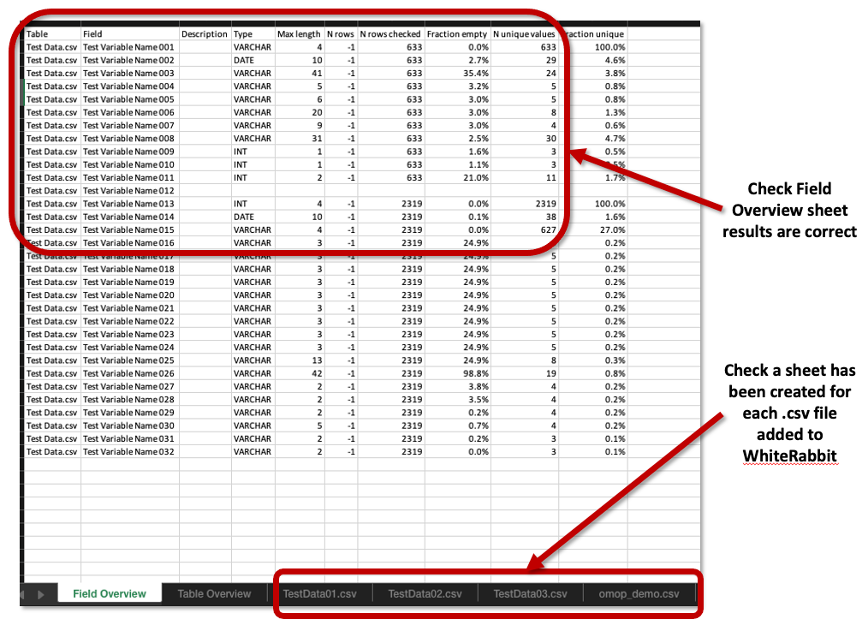
Figure 14: Example of WhiteRabbit Scan Report - Aspects to Check.